Education Library
Guide to Creating Users in the New CRM Environment
-
-
Introduction to User Creation 0:00
-

- Welcome to RSI’s online education library.
- This video explains how to create a user in the new CRM environment.
- User creation is a new feature that enhances client-facing tools.
-
Accessing Roles and Permissions 0:31
- Navigate to the left side navigation bar and select ‘Settings’.
- Click on ‘Roles and Permissions’ to view default roles.
-
Viewing Default Roles 0:48
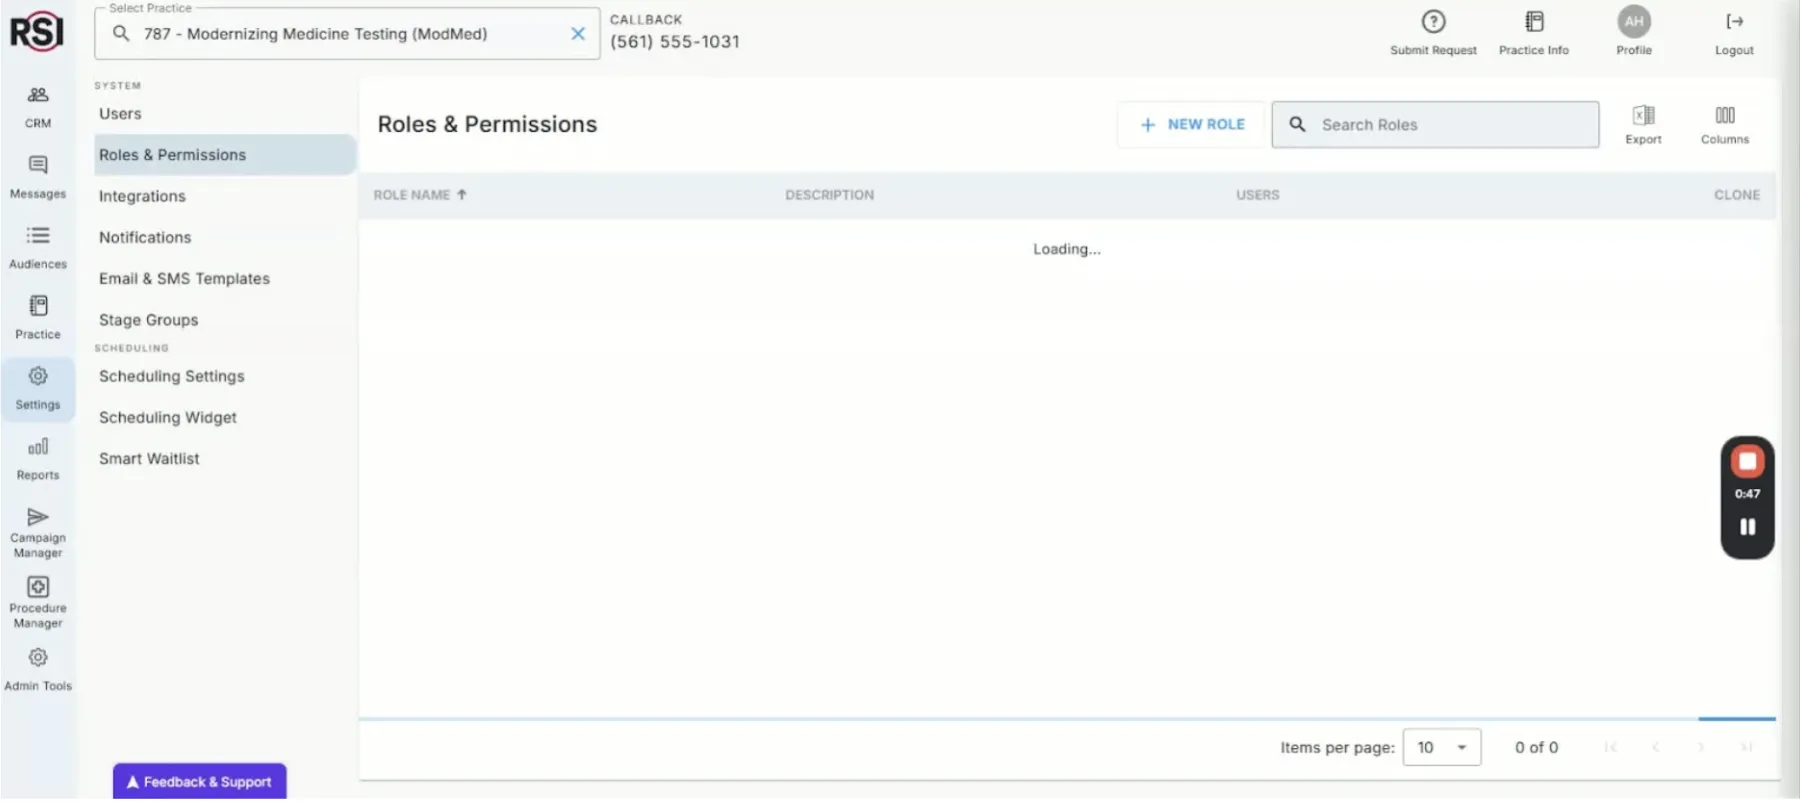
- Default roles include Super Administrator, Contact Center Administrator, etc.
- Click on a role to view its permissions and description.
-
Modifying Roles 1:41

- To create a custom role, select a default role and click ‘Clone’.
- Give the new role a name and modify its permissions as needed.
-
Accessing User Information 2:06
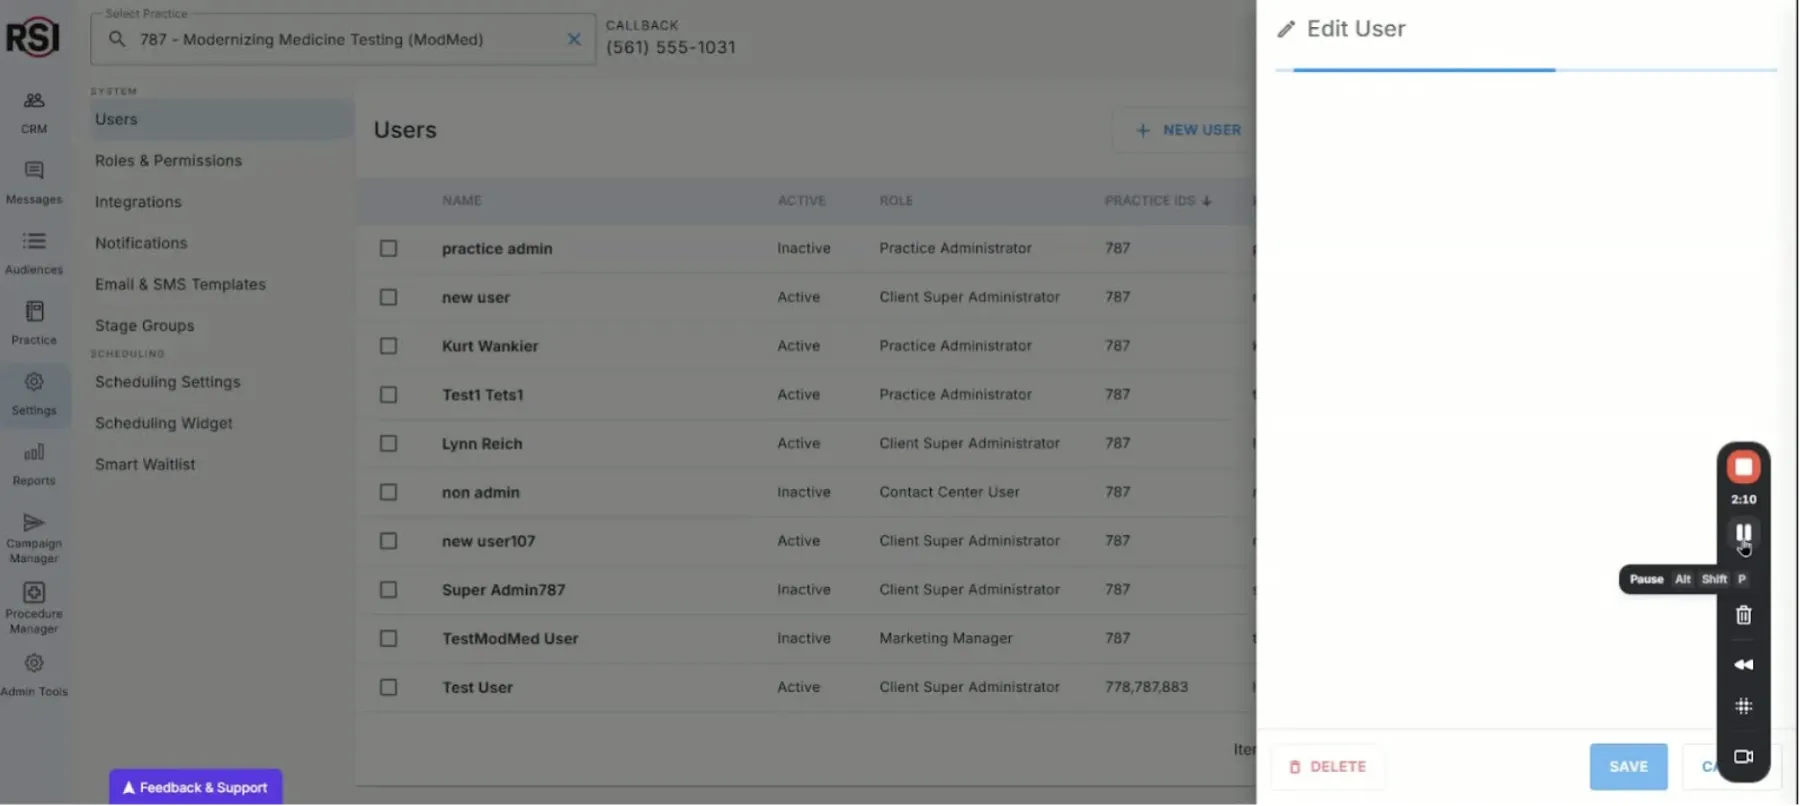
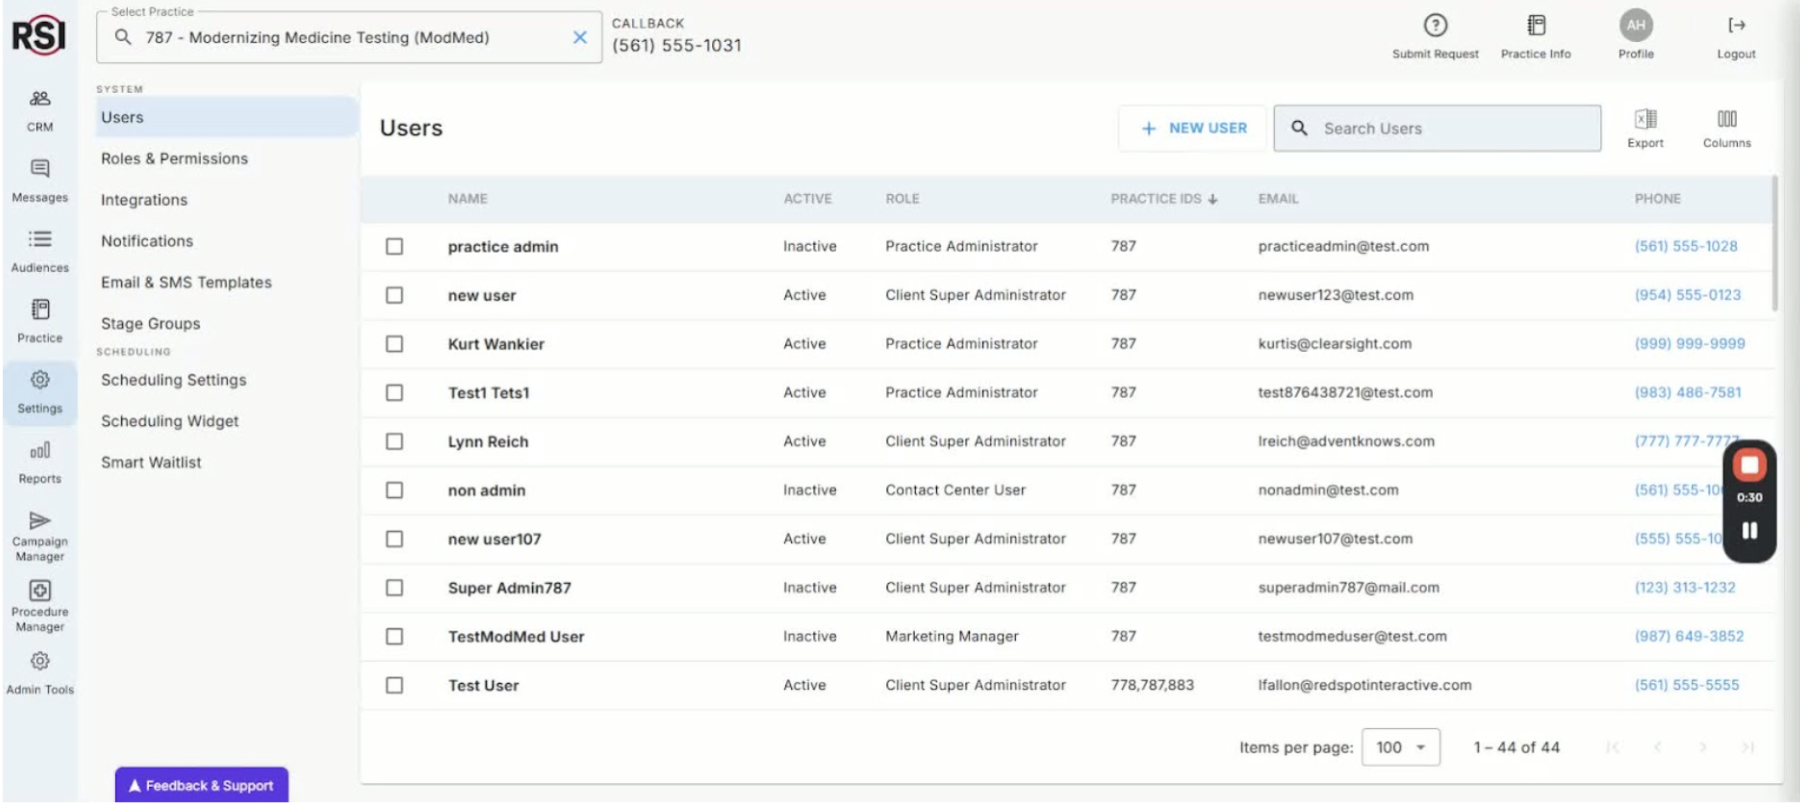
- Click on ‘Users’ to see a list of current users in your practice.
- Select a user to modify their information (first name, last name, username, etc.).
-
Resetting Passwords 2:17
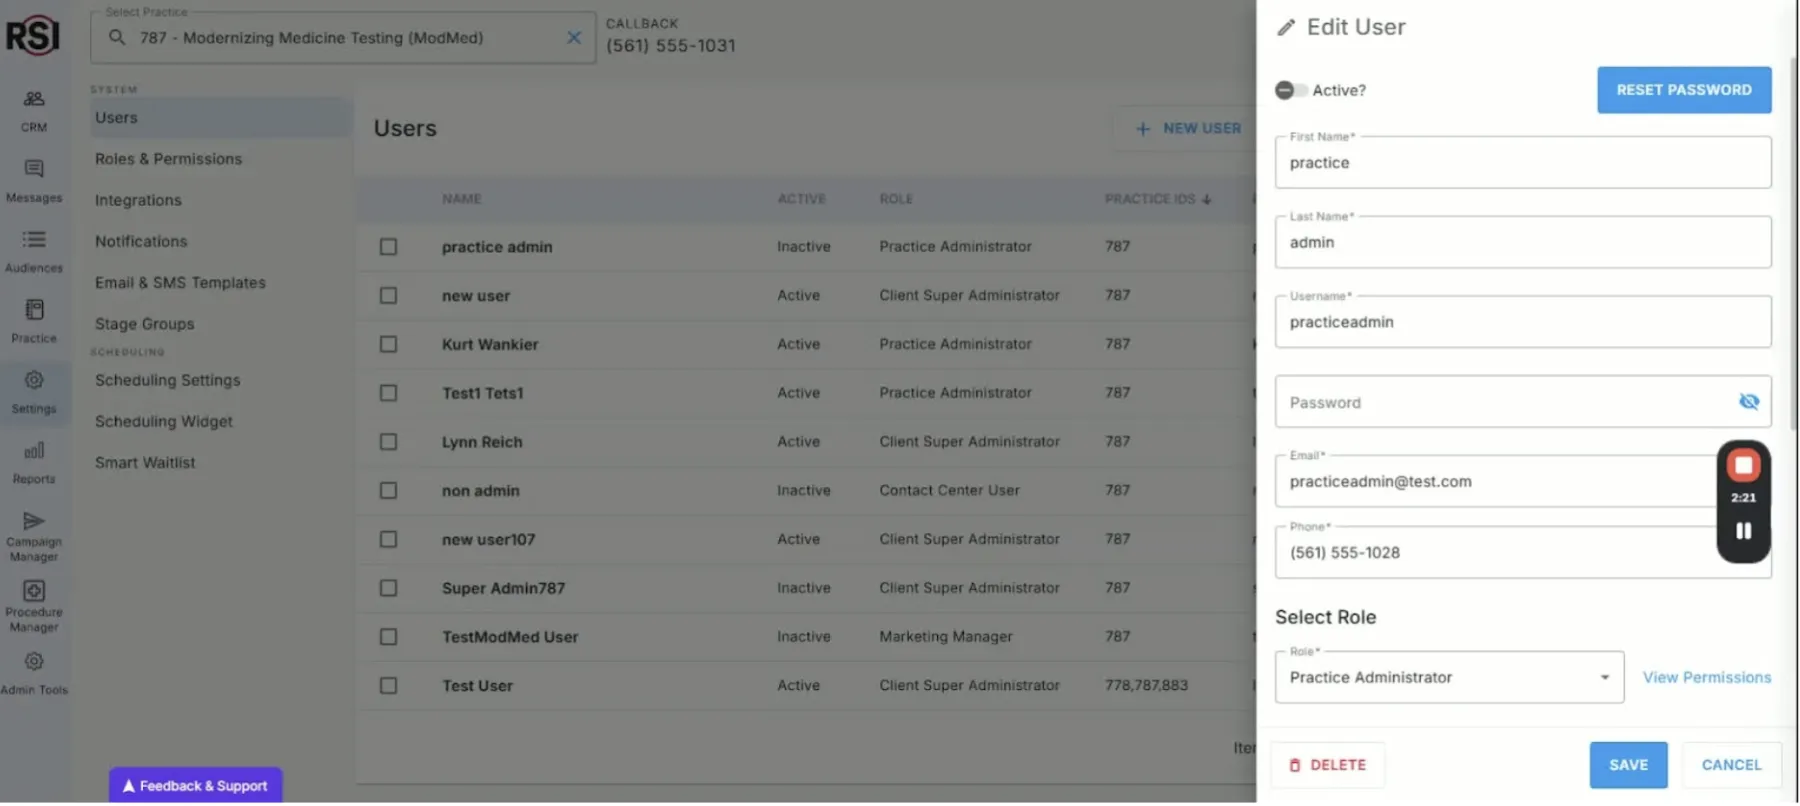
- You can reset a user’s password, which sends an automatic email for them to reset it.
-
Assigning Roles and Practices 2:24

- When modifying a user’s role, reselect the practice they will have access to.
- This is important for users who work across multiple practices.
-
Saving Changes 3:05
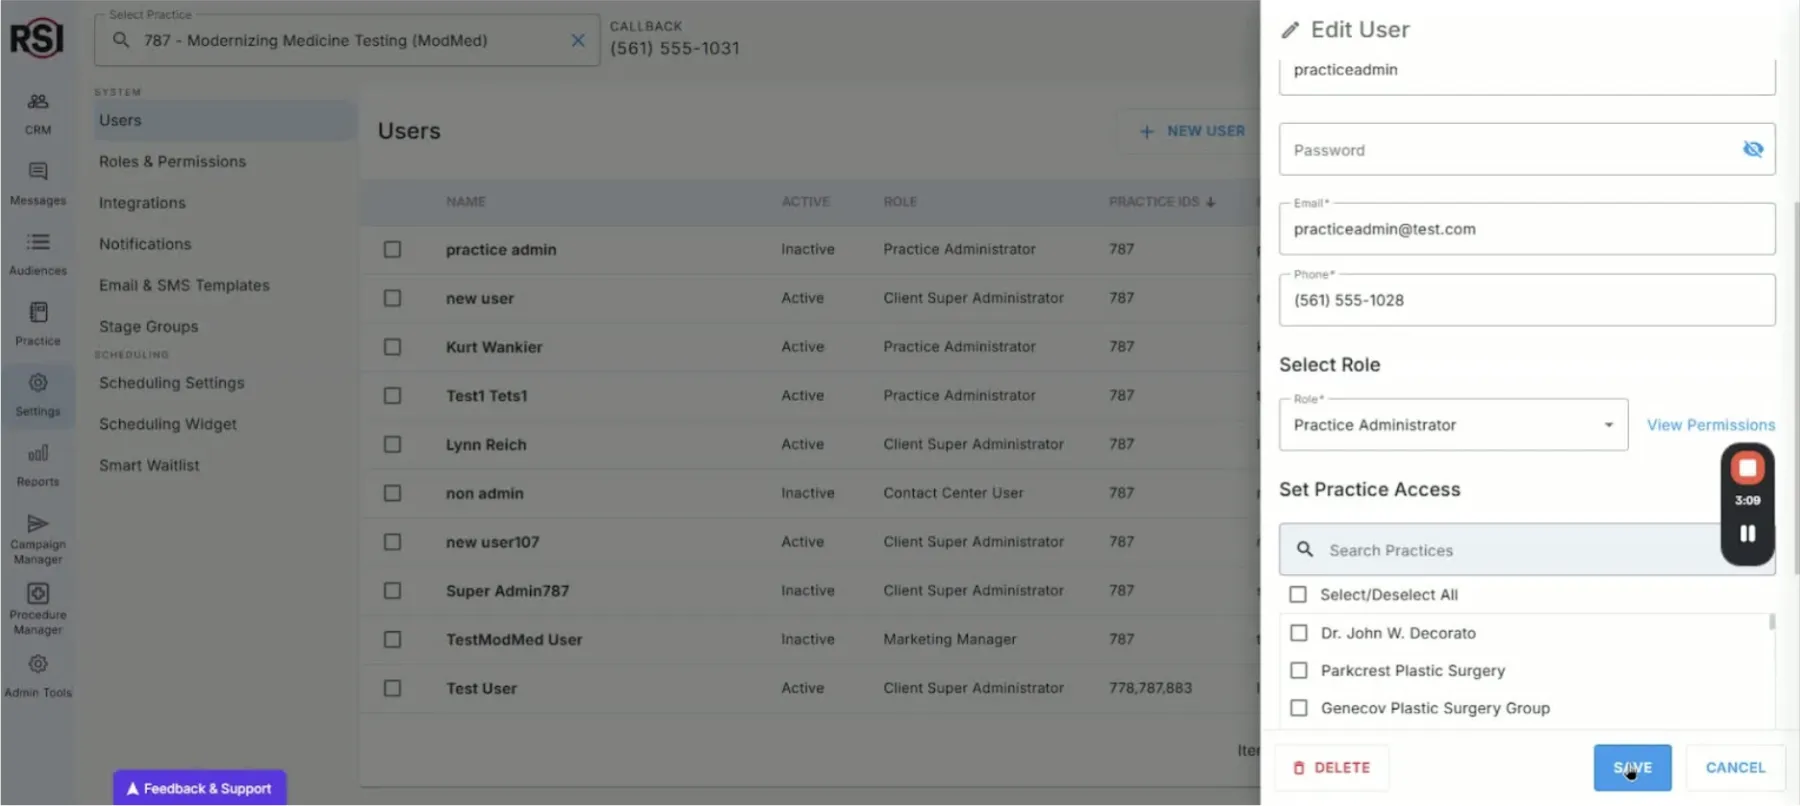
- Click ‘Save’ to apply changes.
- Ensure the blue save button is active; if not, check for missed required fields.
-
Managing User Activity Status 3:15
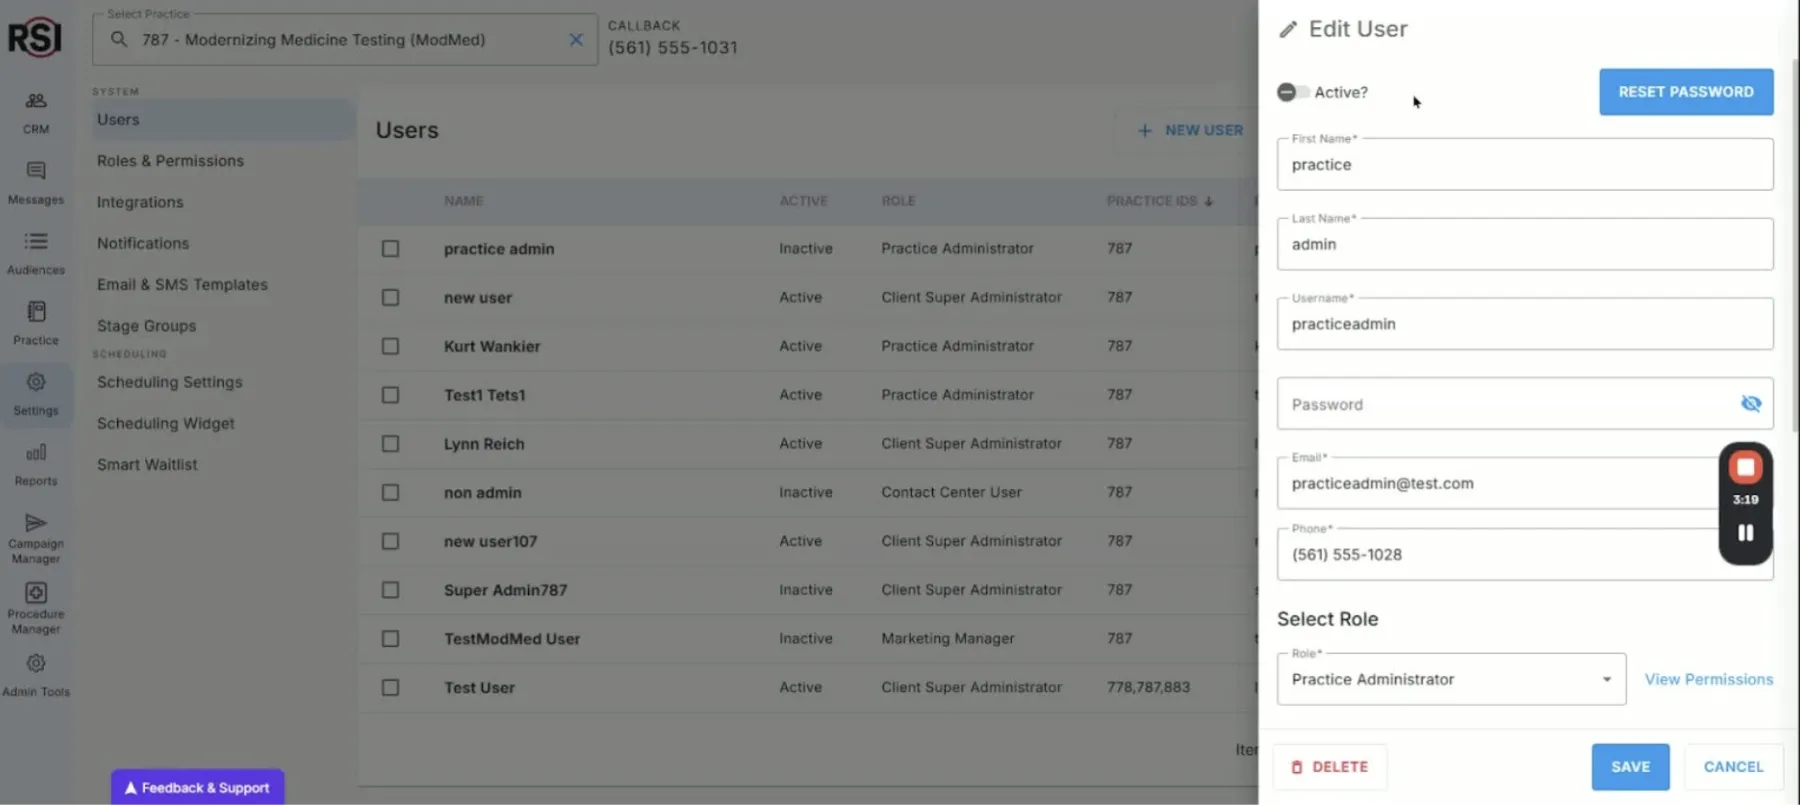
- Note the difference between active and inactive users.
- Users must be marked as active to log in.
-
Conclusion 3:38
- Thank you for watching the video.
- We hope this guide is helpful for creating users in the CRM.