Education Library
How to Book Appointments Using the CRM
Objective
The below outlines the steps for using the CRM booking system to efficiently schedule appointments based on patient preferences.Key Steps
1. Accessing the Booking Tab 0:37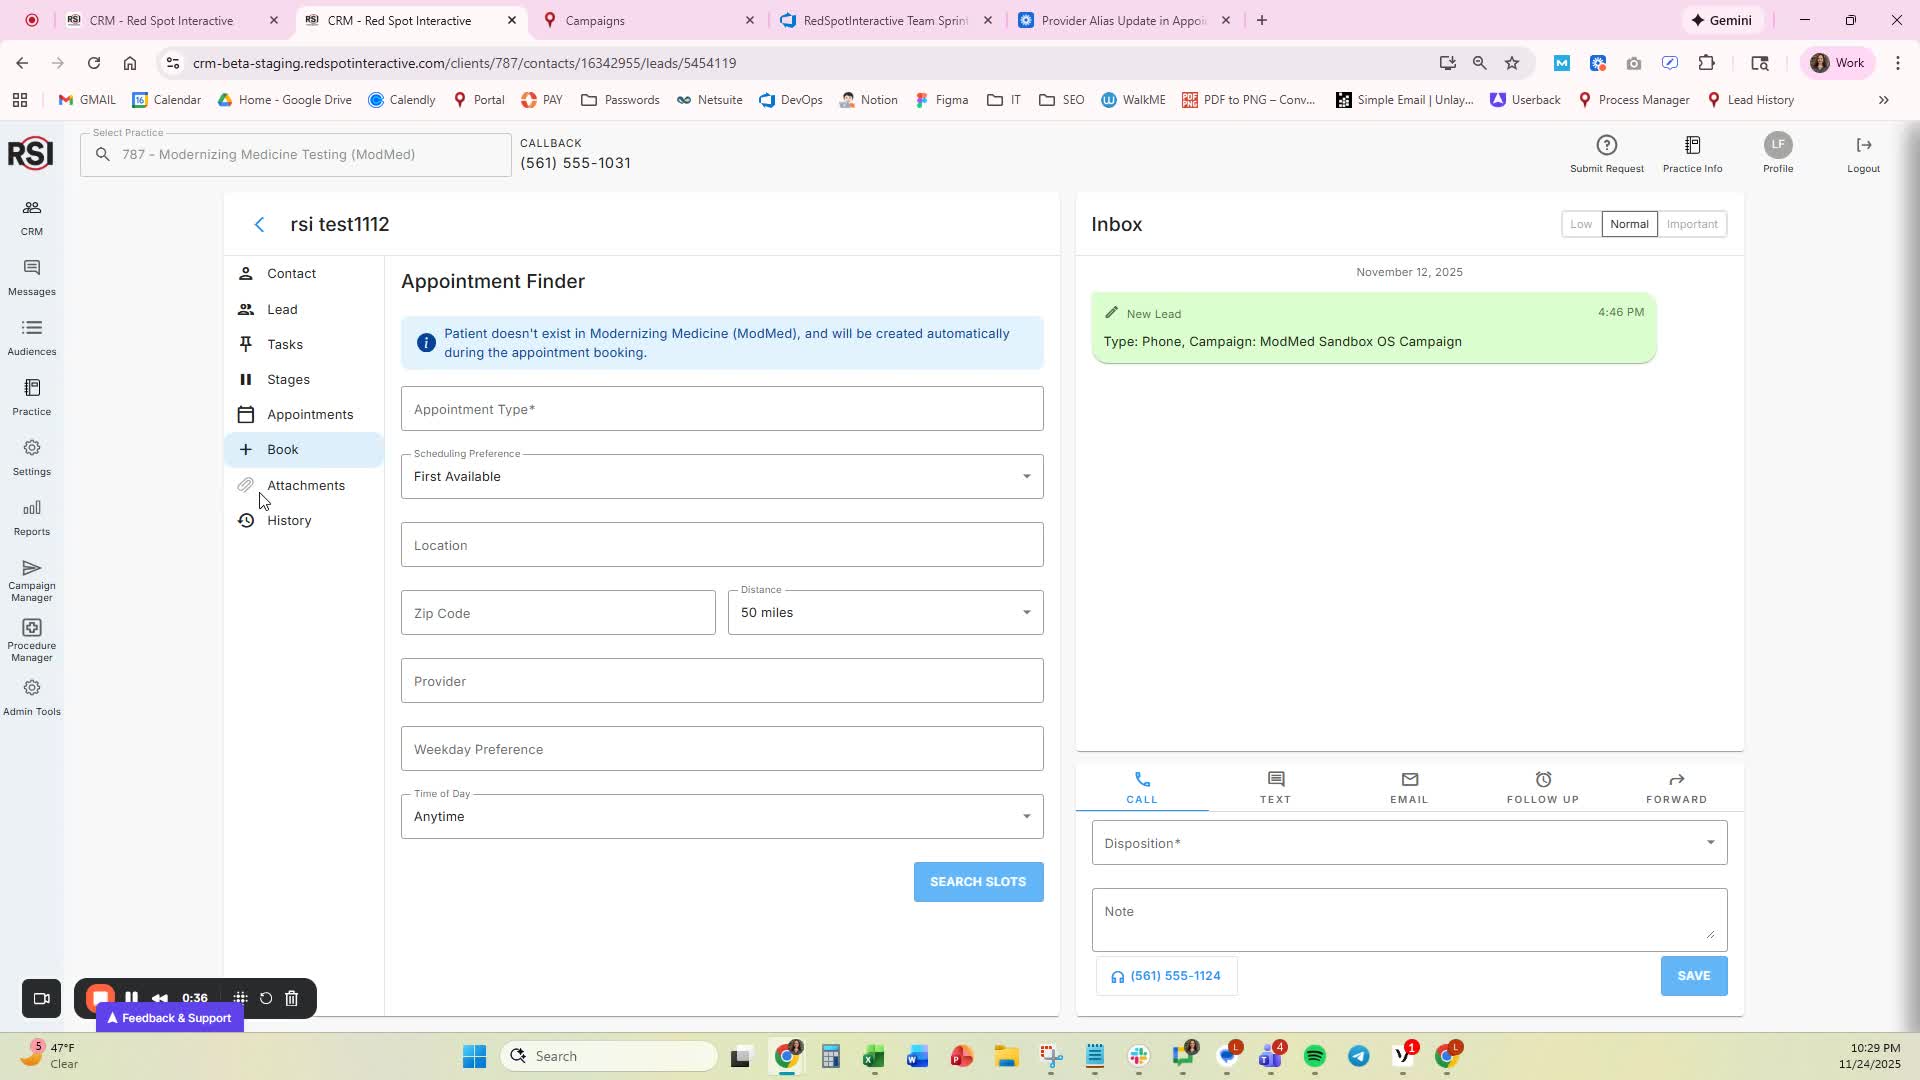
-
- Navigate to the contact record.
- Click on the ‘Booking’ tab to access the booking interface.

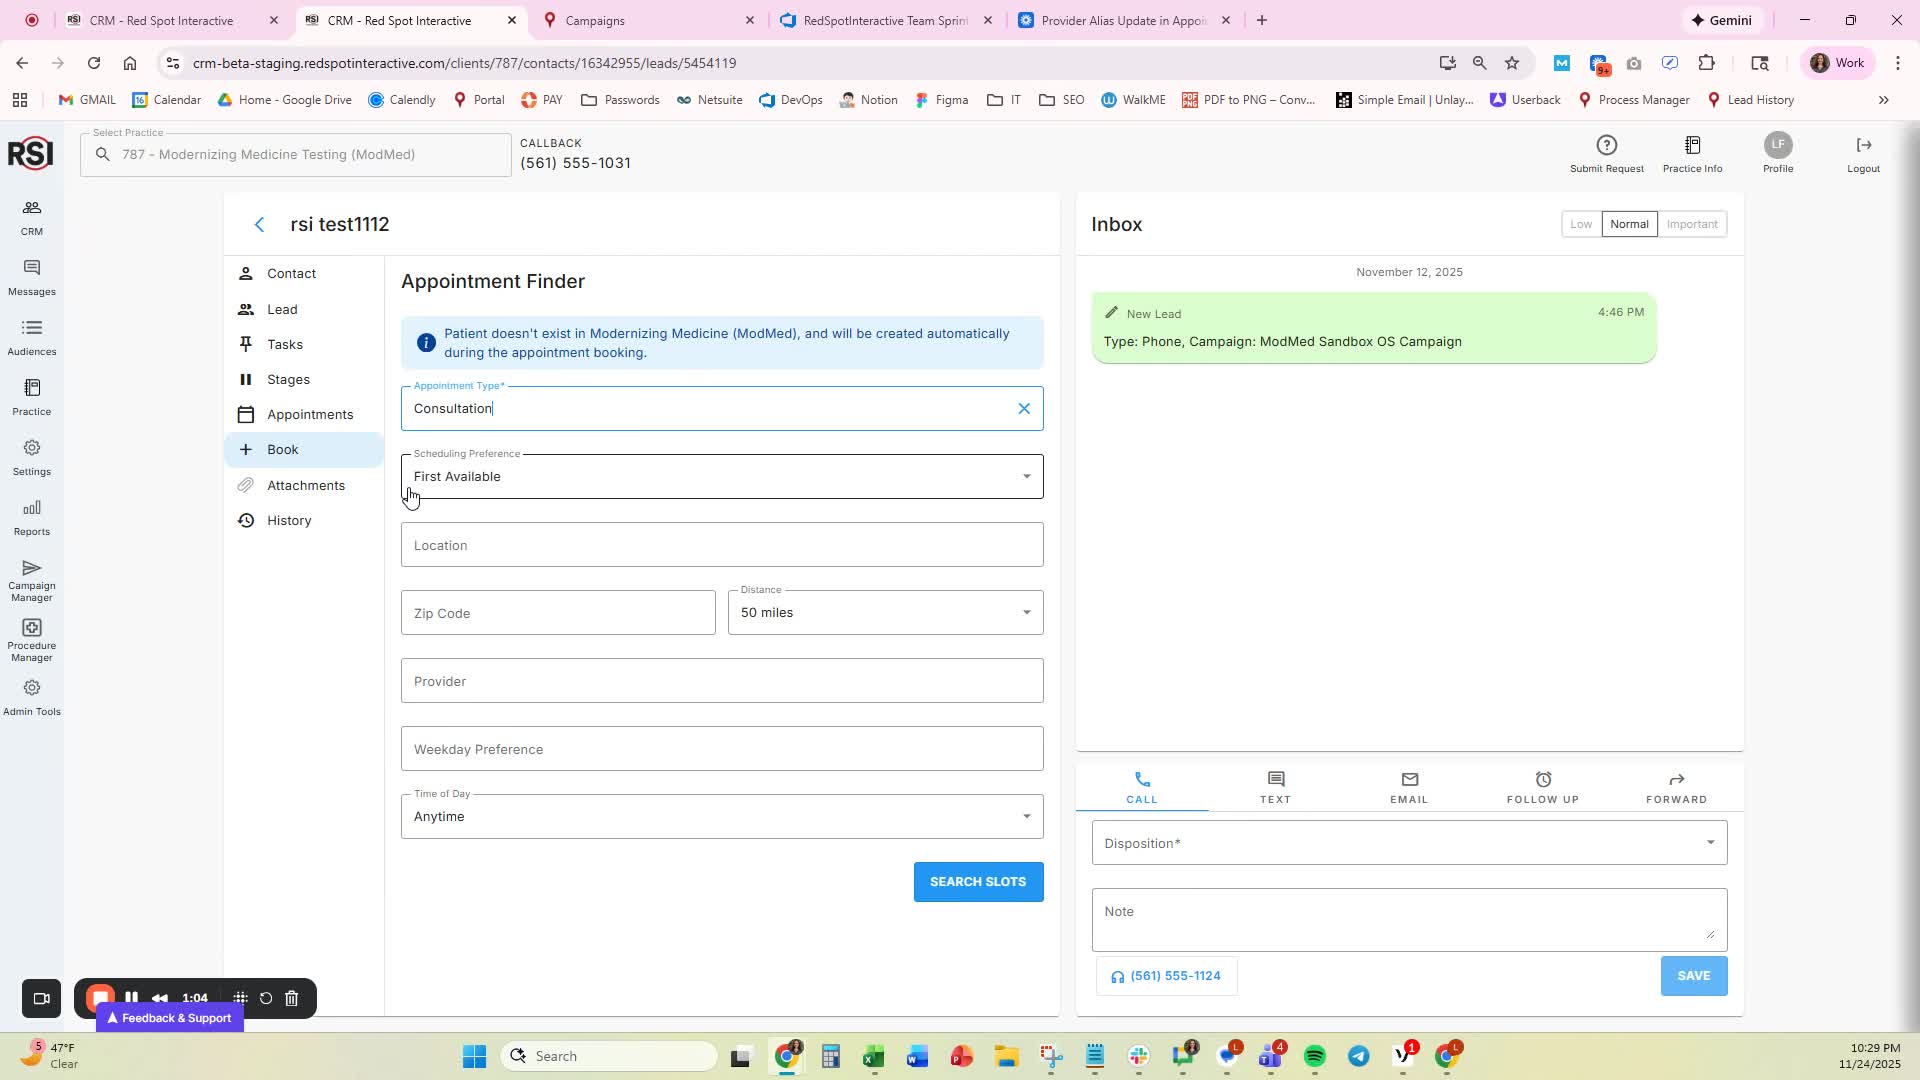
- Locate the ‘Appointment Type’ field (required for all PMs).
- If applicable, fill in the ‘Purpose’ field.
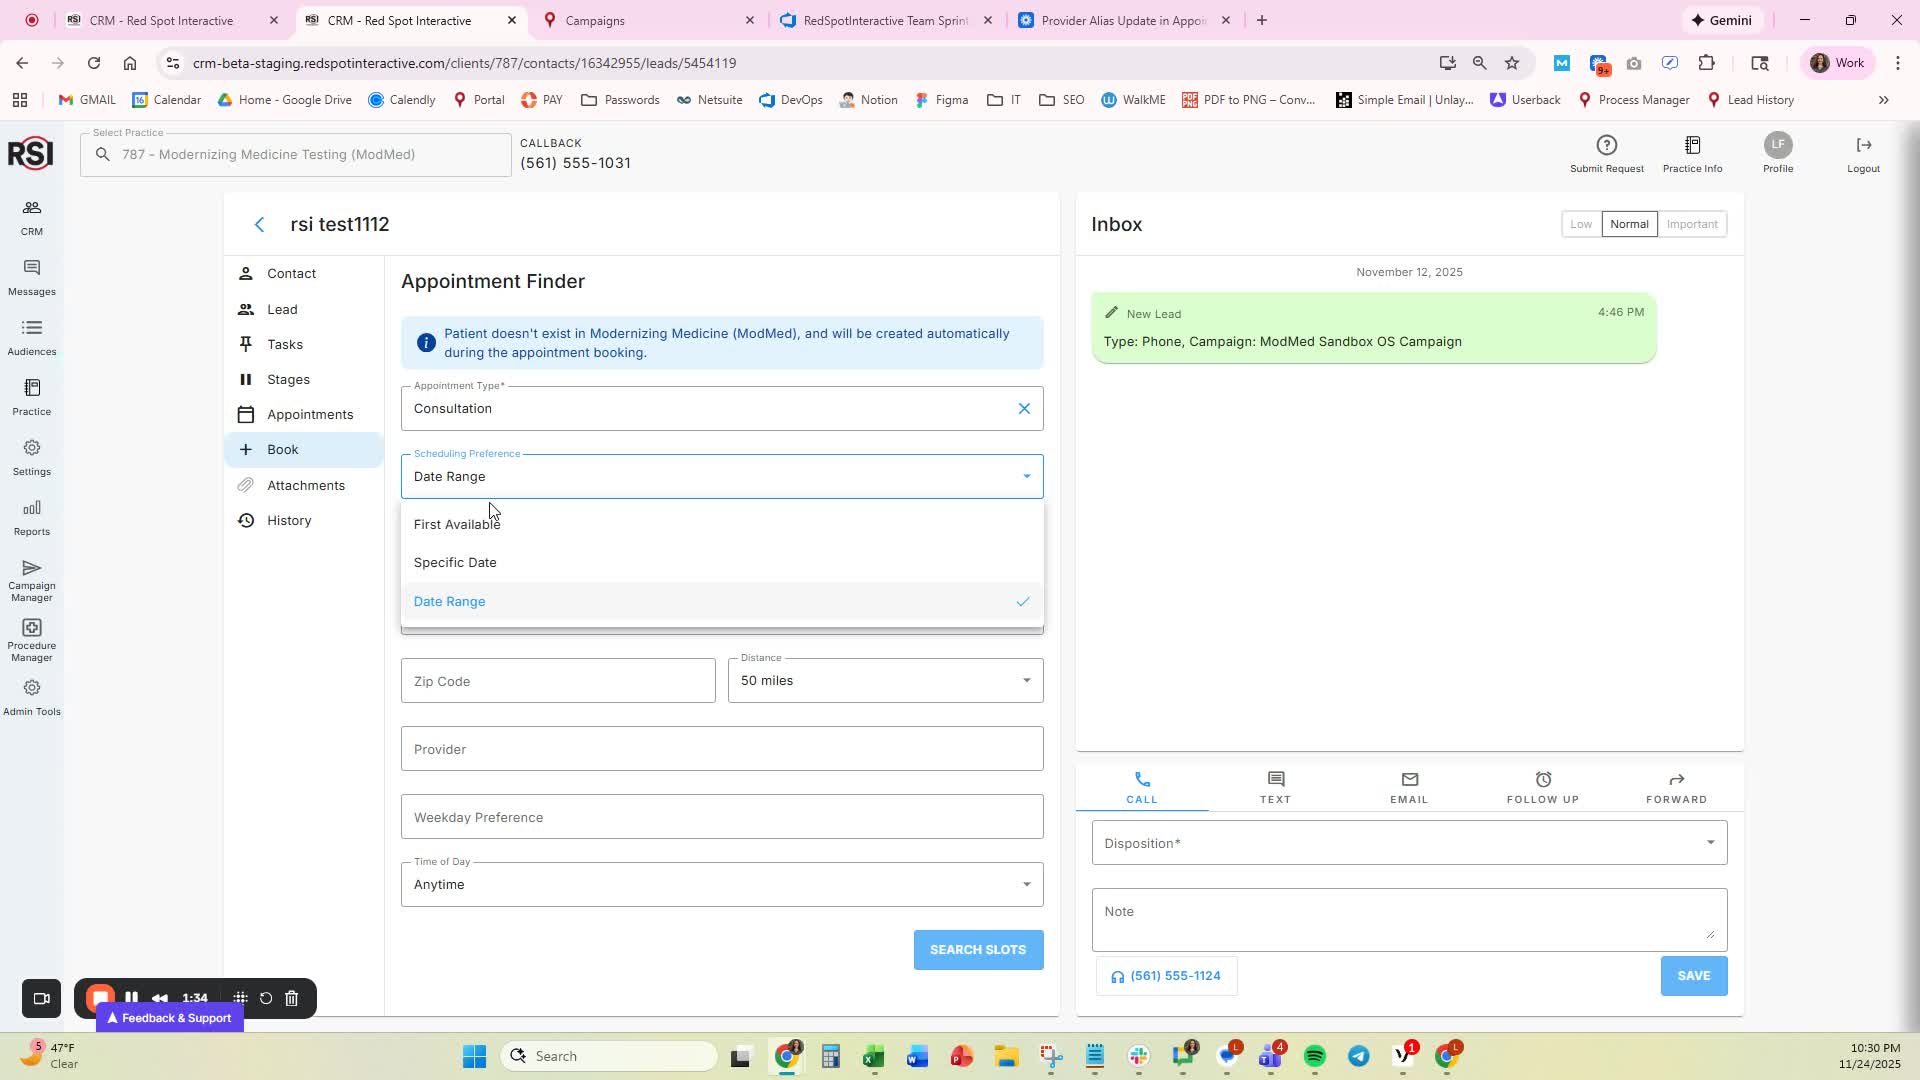
- Choose the ‘Scheduling Preference’:
- Default: First Available
- Options: Specific Date or Date Range (based on patient preference).
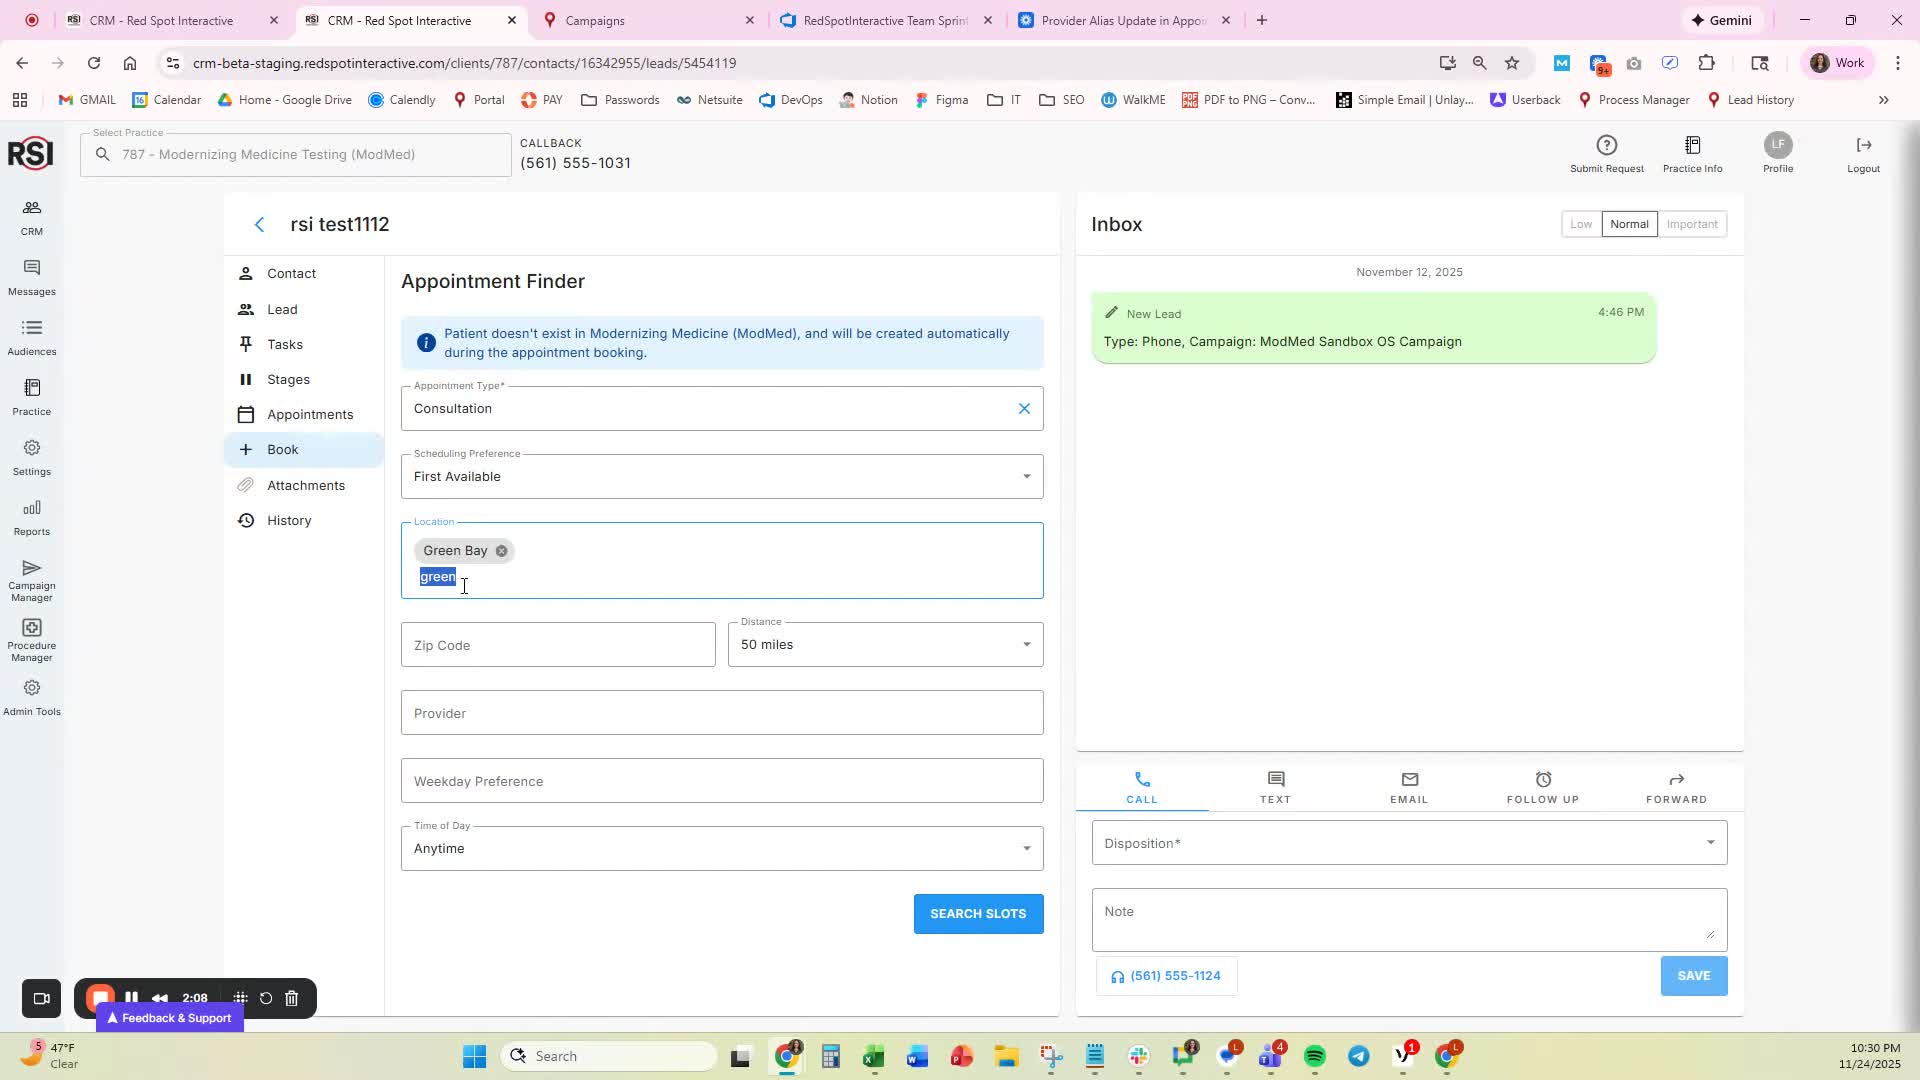
- Select a location from the drop-down menu (filtered by appointment type).
- Use type-ahead search to quickly find a location.
- Optionally, select multiple locations if the patient has no specific preference.
- Optionally, search by distance from a specific zip code.
- Use the ‘Provider’ field to select one or multiple providers based on patient preference.
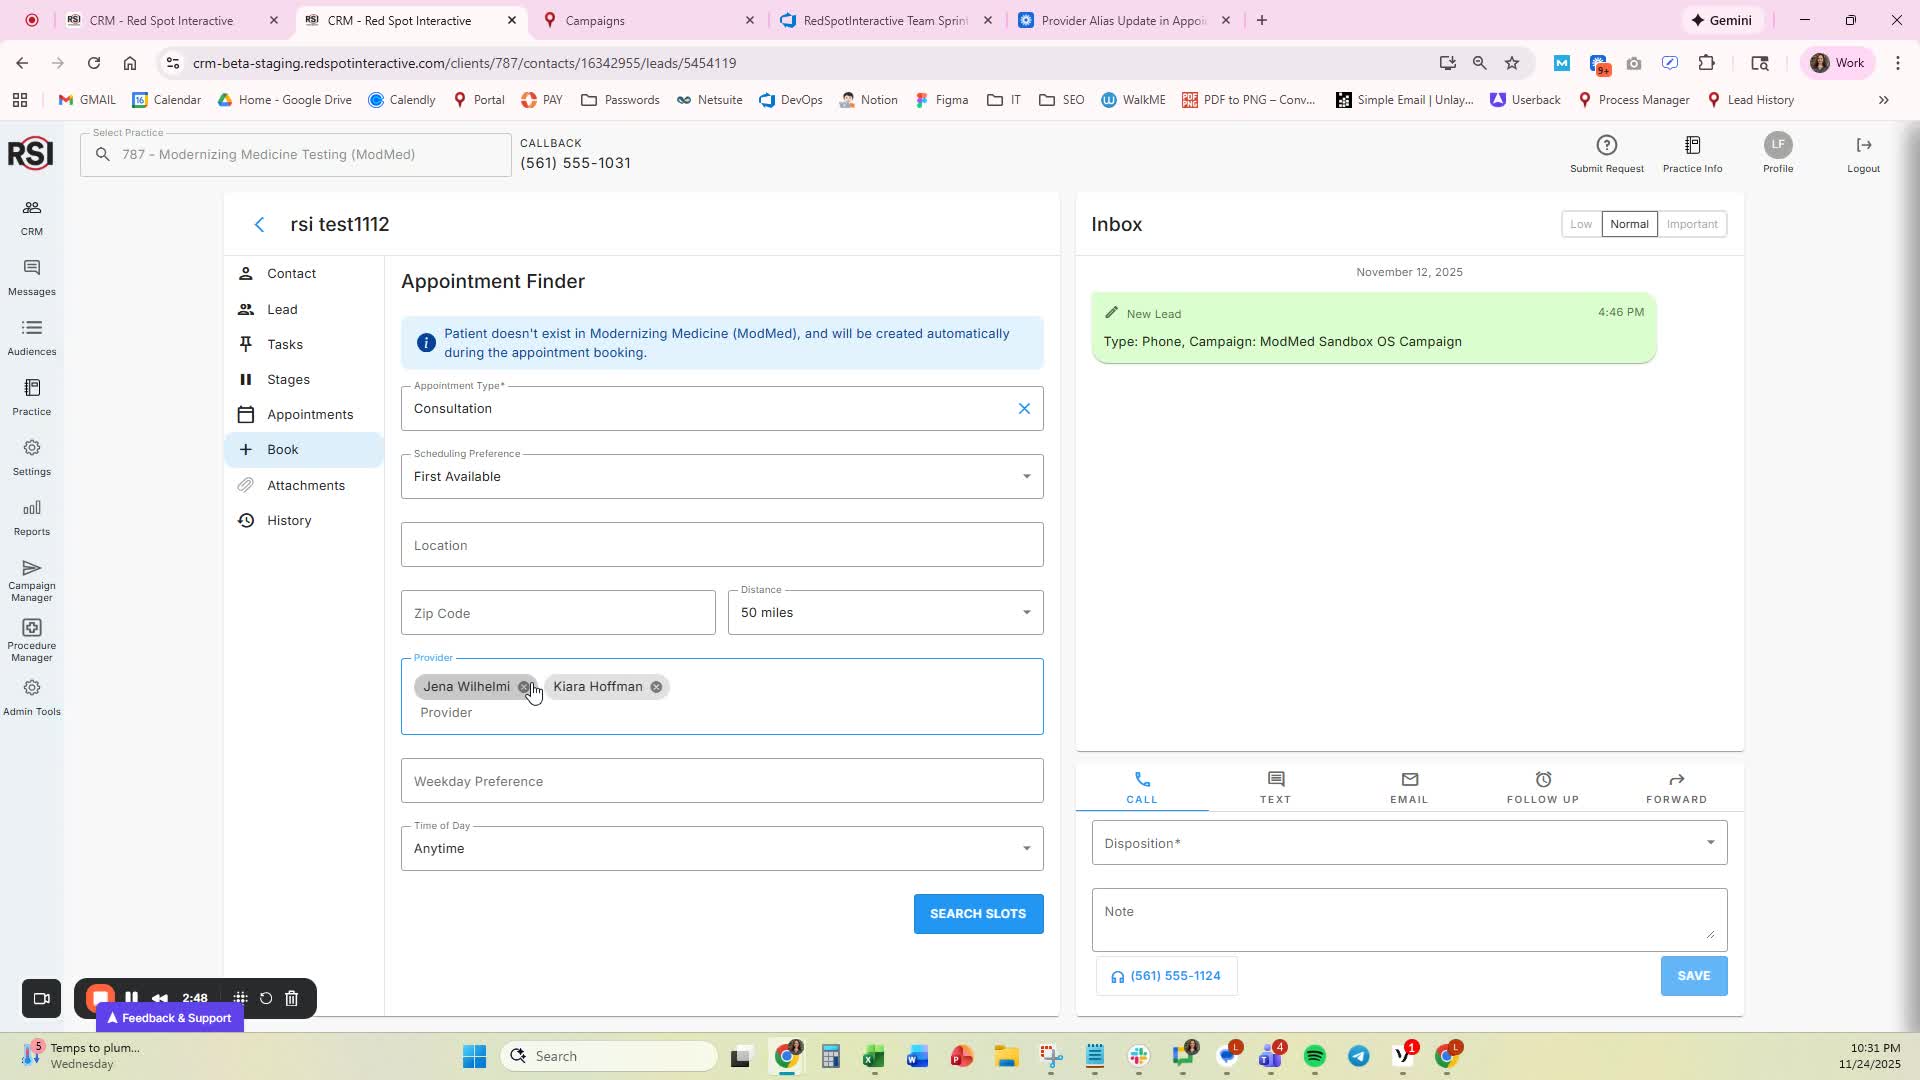
- Specify any weekday preferences (multi-select).
- Choose a time of day preference (defaults to any time; options include morning, afternoon, evening).
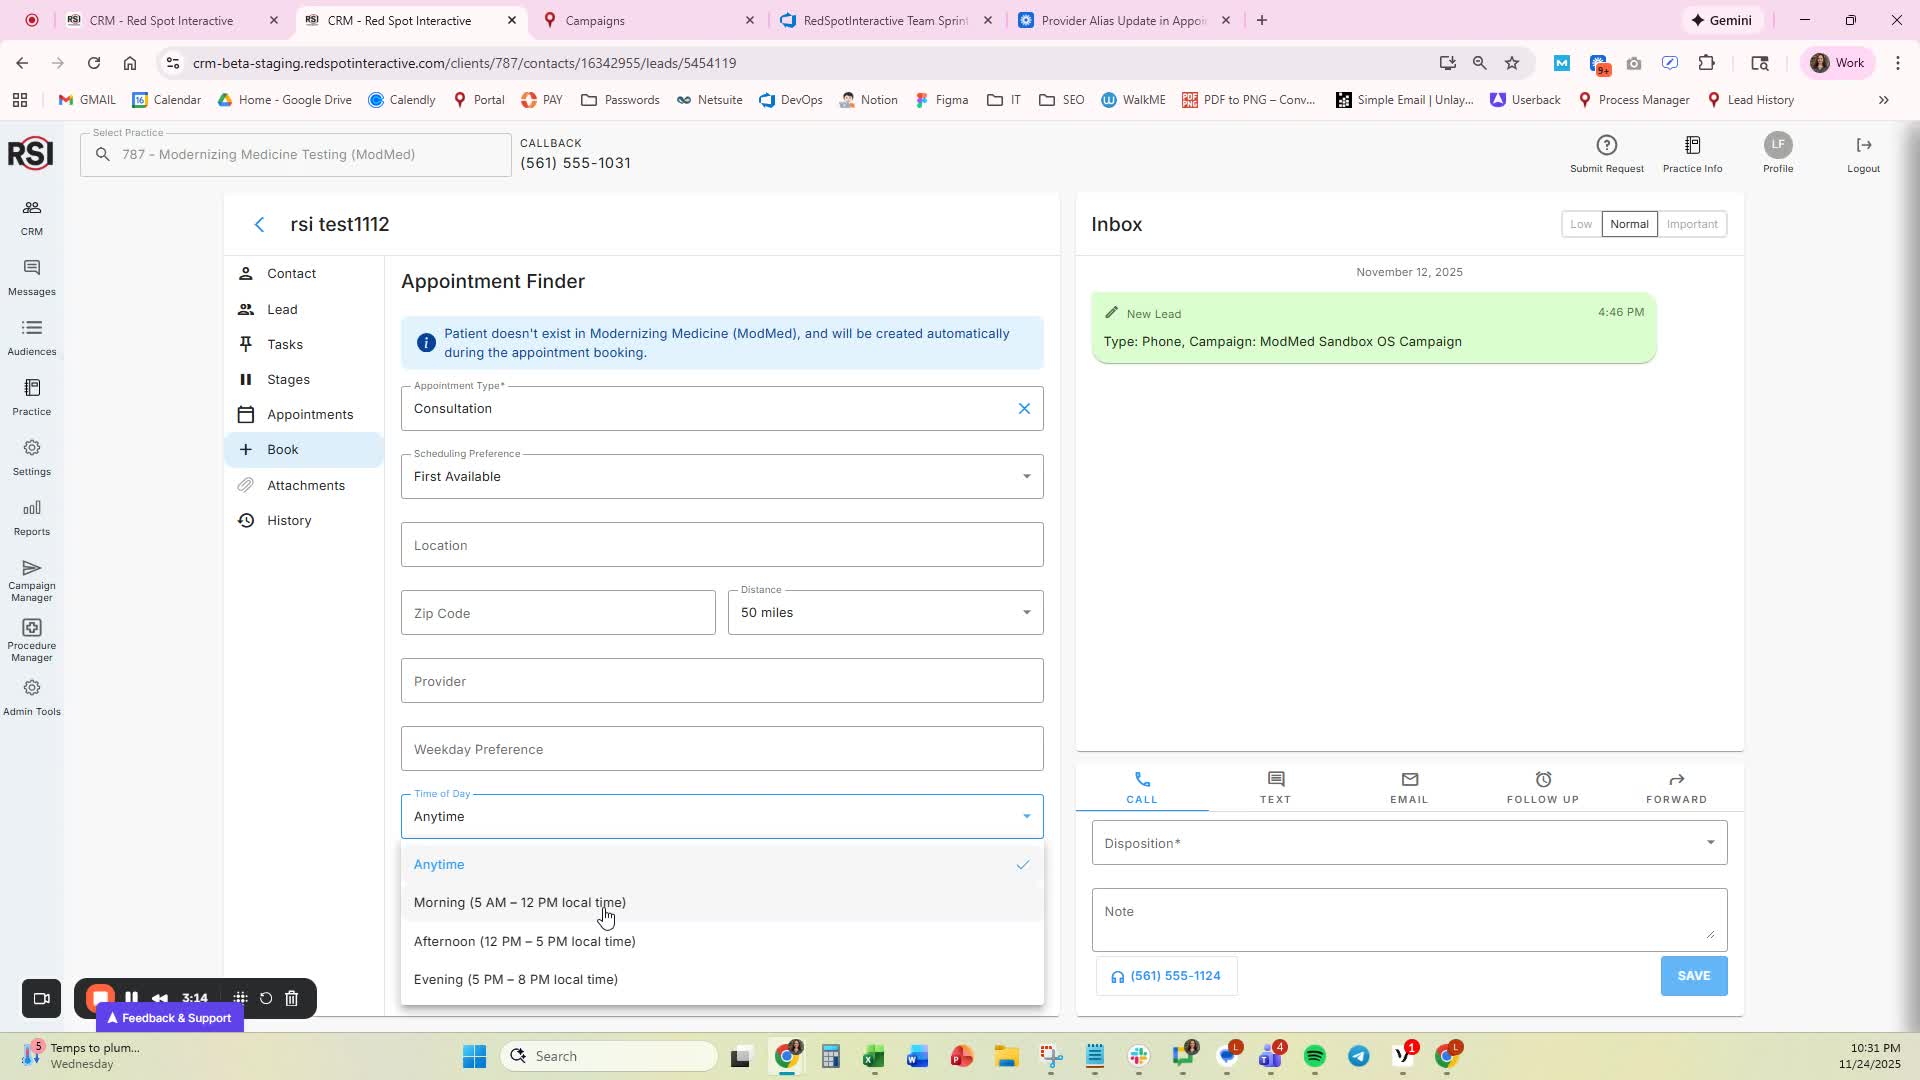
- Click on ‘Search Slots’ to view available appointment times.

- Sort availability by:
- First Available
- Provider
- Select an available time slot.

- After selecting a time, proceed to the confirmation page.
- If the selected time is no longer available, a notification will appear.
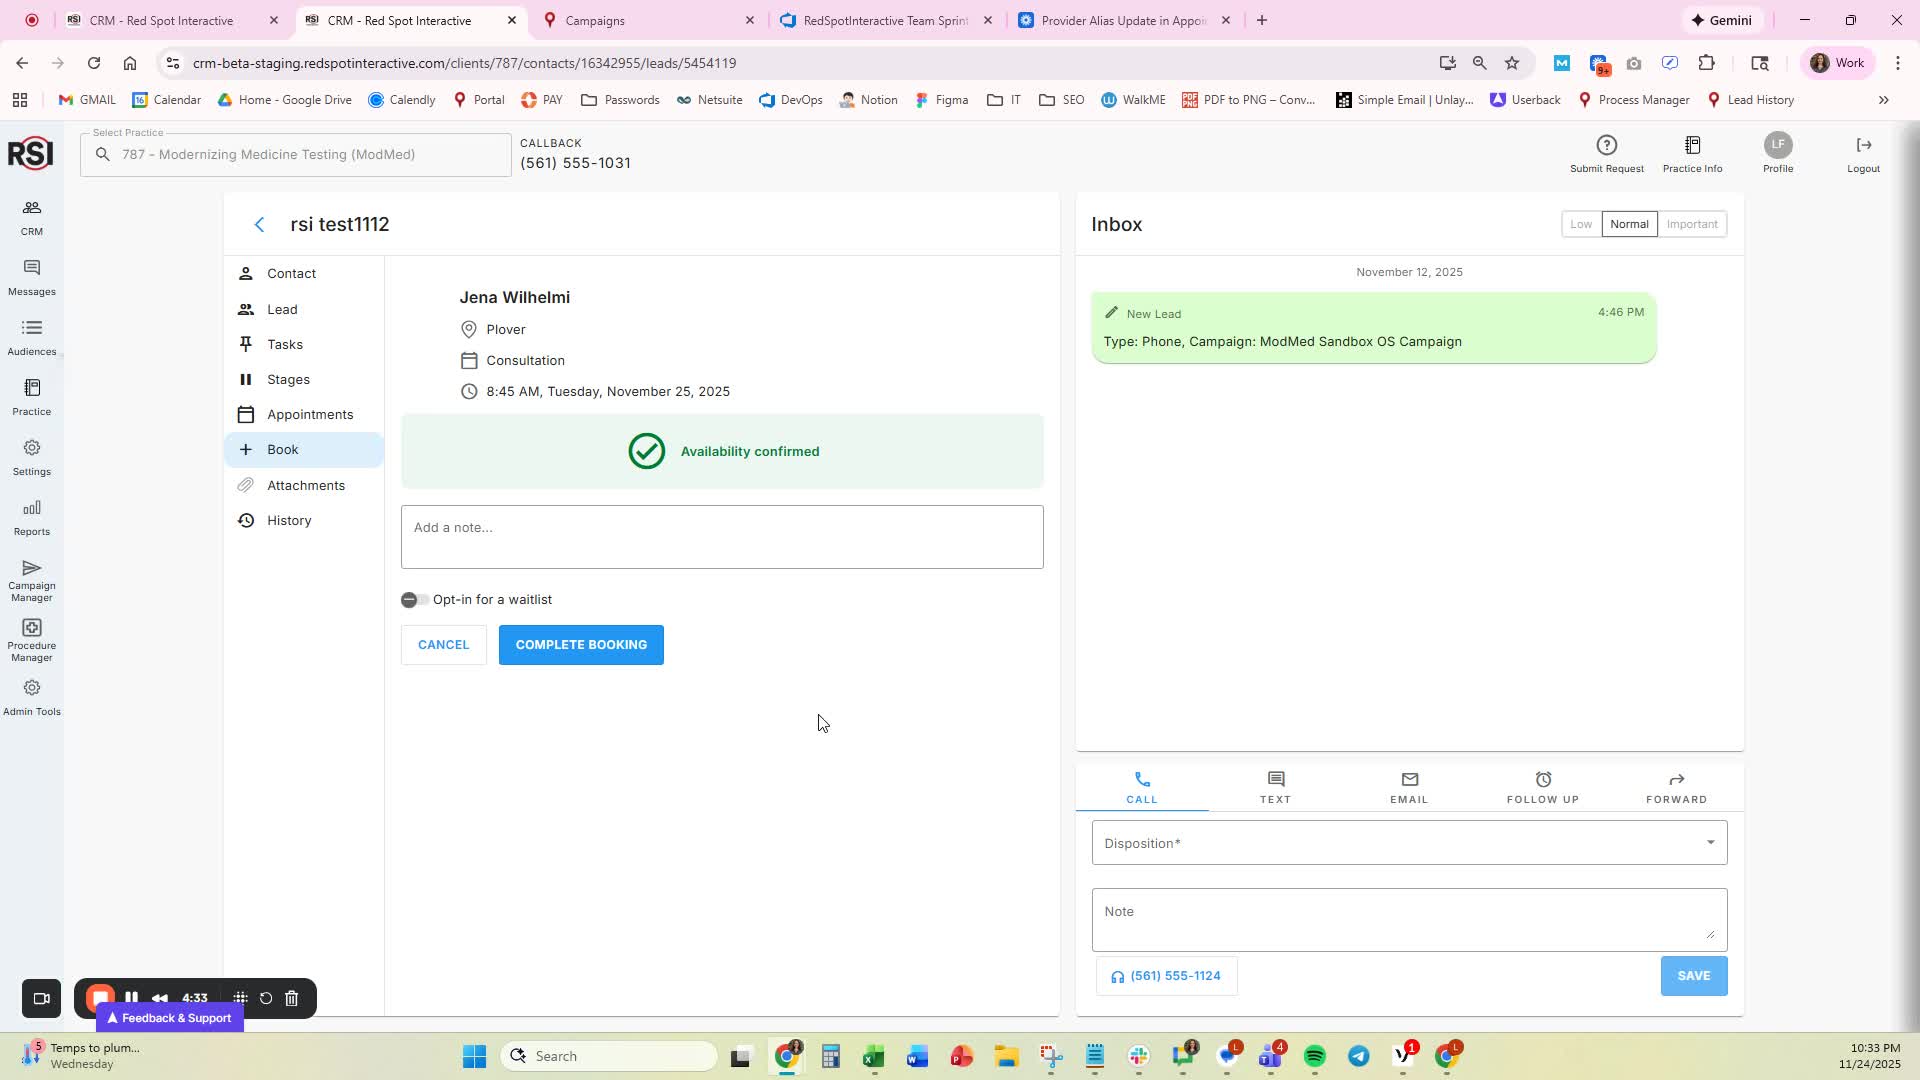
- Finalize the booking on the confirmation page.
Cautionary Notes
- Ensure all required fields are filled out before proceeding.
- Double-check the selected time slot to avoid booking conflicts.
Tips for Efficiency
- Use type-ahead search to quickly find locations and providers.
- Familiarize yourself with the default settings to speed up the booking process.
- Keep patient preferences in mind to enhance the booking experience.