Posting Online Scheduling to my Website
Best Practices for Placing Online Scheduling Menus on Your Practice Website
Overview
Implementing an online scheduling widget effectively can significantly enhance patient experience and reduce call volume for the front desk. This guide outlines strategic placement and configuration recommendations to maximize user interactions and increase appointment conversions.
General Recommendations for Widget Implementation
Call-to-Action (CTA)
- Maintain consistent CTA language across all pages
- Recommended CTA options:
- “Schedule Now”
- “Schedule Today”
- “Schedule Online”
- Use clear, action-oriented language
- Ensure CTA stands out visually from surrounding content
Placement Best Practices
- Position widget prominently in the upper portion of the page
- Never place at bottom of page
- Ensure consistent placement across similar page types
- Maintain high visibility without overwhelming other content
- Consider placement in right-hand sidebar for desktop views
- For mobile, position widget after crucial introductory content
Key Pages for Widget Placement
- Create a Prominent “Book An Appointment” Call-to-Action (CTA) in the Header Navigation
- Location: Website header (visible on all pages).


- Purpose: Provides an easily accessible, global entry point for scheduling.
- Configuration: Link the CTA to a dedicated booking page where the widget is configured without pre-selected options.


- Options: On this main booking page patients can enter the scheduling system by selecting from:
- “First Available” to find the soonest appointment.
- “Location” to choose a specific office.
- “Provider” to select a particular provider.
- Options: On this main booking page patients can enter the scheduling system by selecting from:
- Benefits: Offers a straightforward, centralized starting point for patients, helping them quickly find and book the most suitable appointments.
- Location: Website header (visible on all pages).
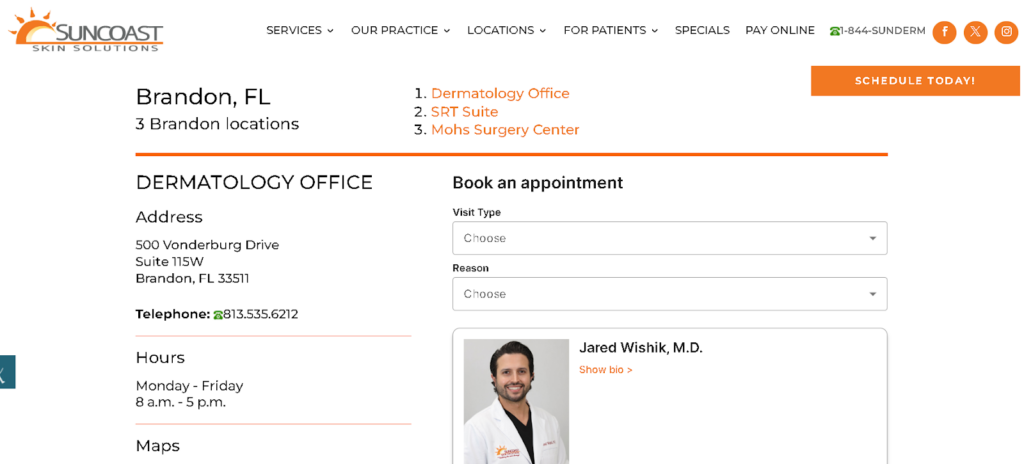
- Embed the Widget on Each Provider’s Bio Page
- Location: At the top or in a prominent position on each provider’s “Meet the Provider” page.
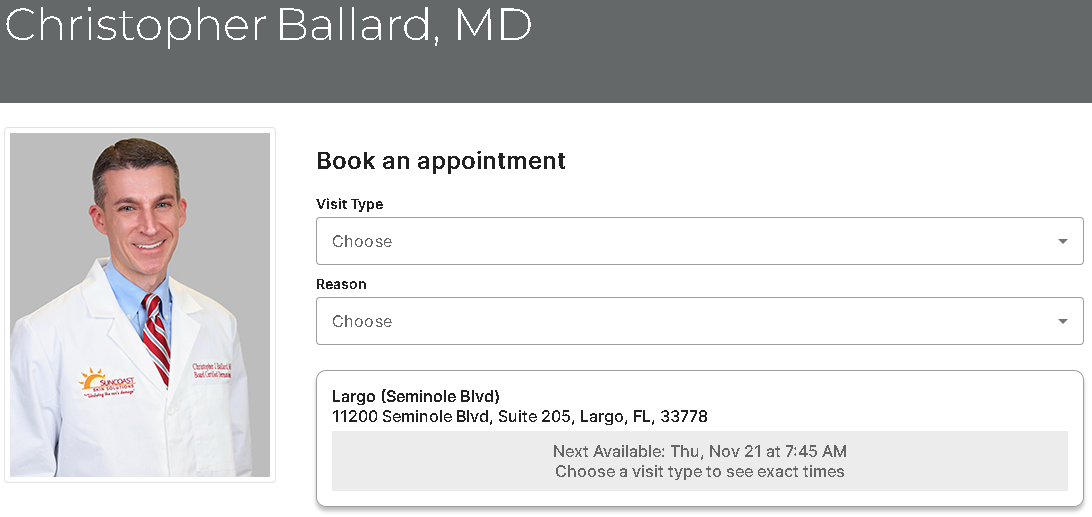

- Purpose: Streamlines the booking process by pre-selecting the provider associated with the page.
- Configuration: The widget should automatically pre-select the provider whose page it’s embedded on, giving patients direct access to book with that specific doctor.
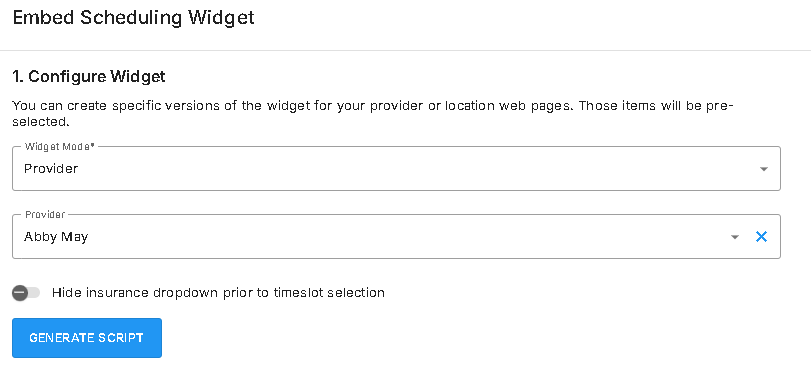

- Benefits: Personalizes the scheduling experience by linking directly to the provider they are viewing.
- Location: At the top or in a prominent position on each provider’s “Meet the Provider” page.
- Place the Widget on Each Location Page
- Location: At the top of each location page.

- Purpose: Facilitates easy appointment booking at the specific facility the patient is currently viewing.
- Configuration: Set the widget to pre-select the location displayed on the page.
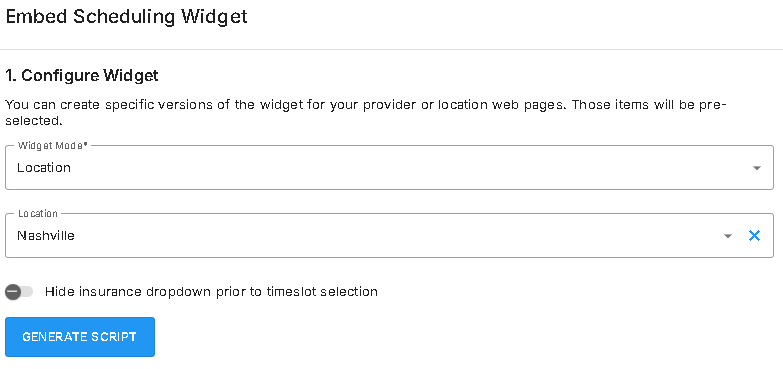

- Benefits: Reduces confusion for patients seeking care at a specific facility and helps them book more quickly, leading to higher conversion rates.
- Location: At the top of each location page.
- Integrate the Widget on Procedure or Consultation Pages
- Location: Near the top of each procedure or consultation information page.
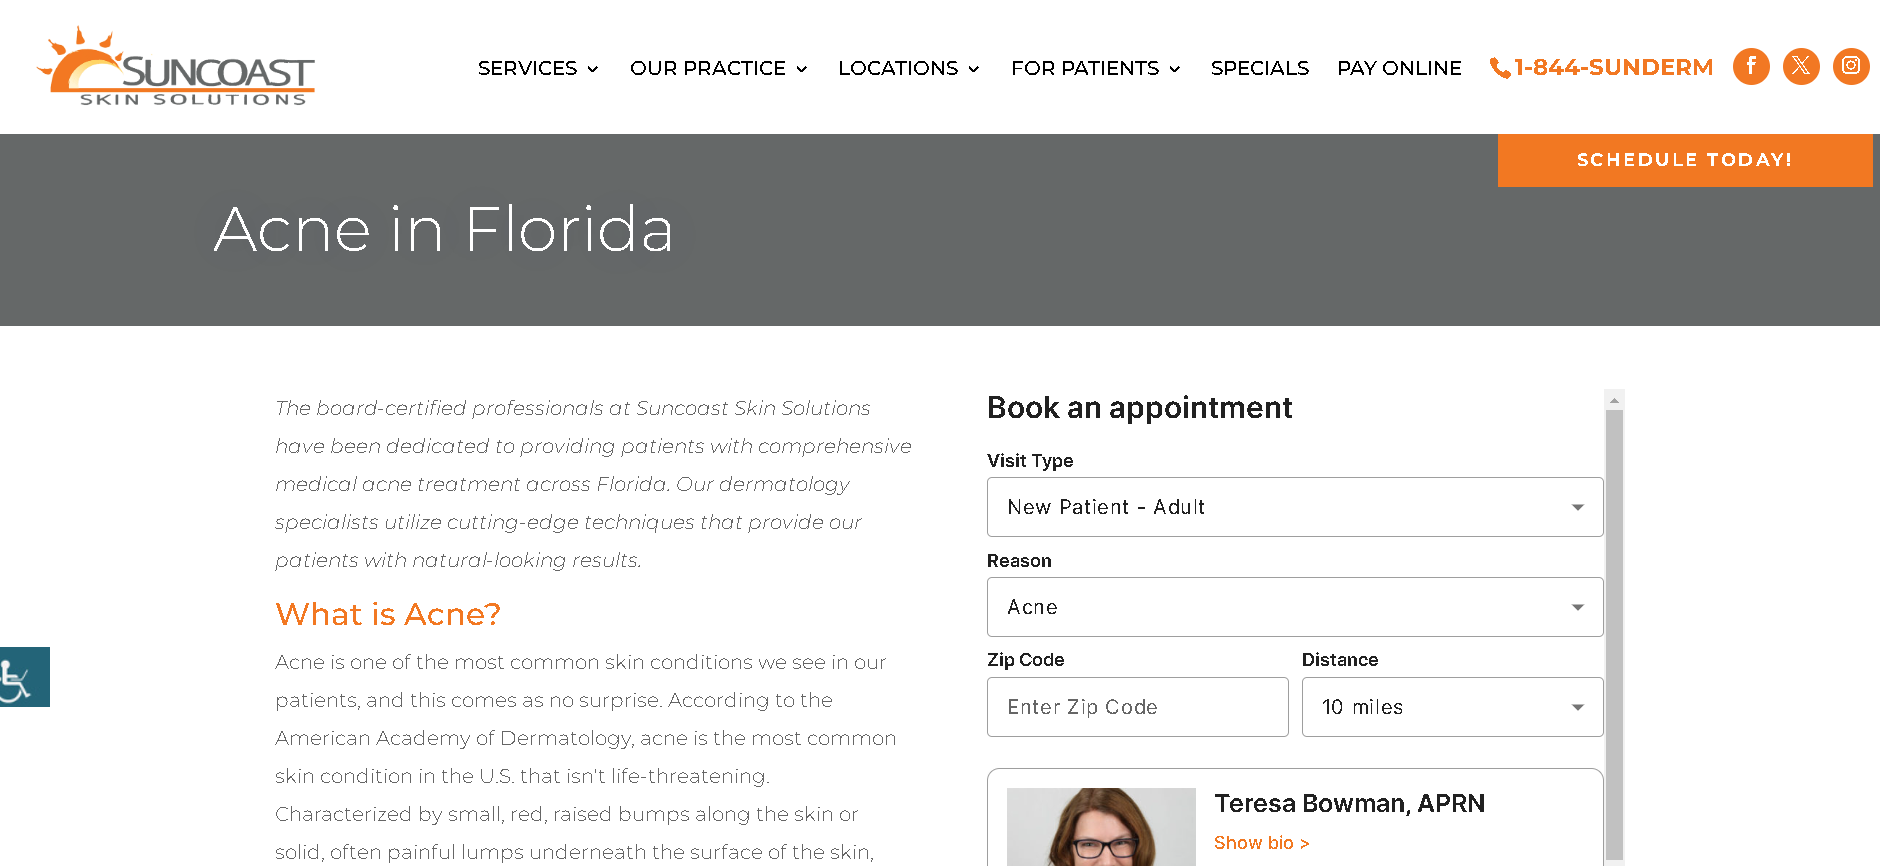

- Purpose: Allows patients to book a consultation directly related to the procedure they are interested in.
- Configuration: Pre-select the appropriate “Reason” or “Visit Type” based on the procedure detailed on the page.
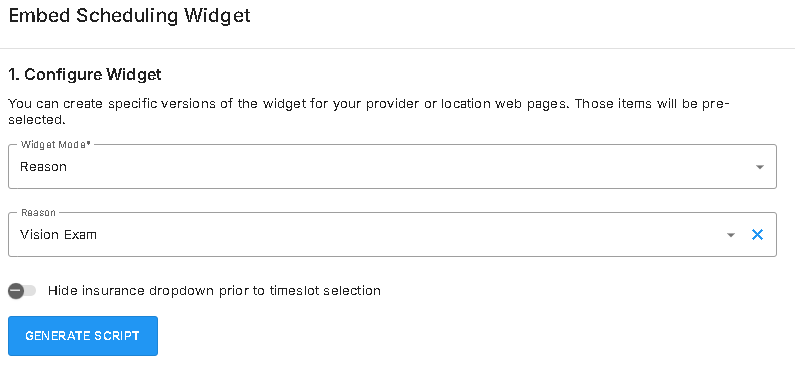

- Benefits: Ensures that patients select the correct type of visit and reduces the potential for incorrectly booked appointments.
- Location: Near the top of each procedure or consultation information page.

Online Scheduling Lead Campaign Tracking
In order to properly capture and attribute the campaign responsible for driving in the new lead/appointment, follow these steps:
- Add Tracking Script: Insert the provided tracking script into the header of your landing page. This script will capture the campaign data when bookings are made.
- Google Tag Manager: If you want to implement this across multiple pages on your website, consider using Google Tag Manager for easier management and deployment of the script.
By implementing this tracking method, you can effectively monitor the performance of your PPC campaigns and gather valuable insights from the UTM parameters associated with your links.
Directing Patients to Online Scheduling from Other Marketing Channels
Once you have the widget installed on all the recommended pages, it’s important to strategically link to the online scheduling widget from various external channels. By guiding patients directly to specific pages on your website that have the widget installed, you can ensure maximum exposure to the self-scheduling option.
- Integrate Booking Links in Patient Recall Drip Campaigns (Text & Email)
- Implementation: Include “Book Your Appointment” links in patient recall messages that remind patients it’s time to schedule their next appointment.
- Link Destination: Direct these links to specific procedure pages on the website that have the scheduling widget installed.
- Benefits: By guiding patients to the exact booking point related to the reminder, you make it faster and easier for them to schedule, increasing the likelihood of conversion.
- Link Google My Business (GMB) Profiles to Location Pages on the Website
- Implementation: For each location listed on Google My Business, add a “Book Appointment” link that directs users to the corresponding location page on your website.
- Link Destination: Ensure that these links lead to pages where the scheduling widget is pre-configured for that specific location.
- Benefits: Patients often use Google to search for nearby medical providers, and this approach creates a direct booking path from GMB profiles, boosting appointment rates at specific offices.
- Add Booking Links to Provider Email Signatures
- Implementation: Every provider available for online booking should include a “Book an Appointment with Me” link in their email signature.
- Link Destination: This link should direct patients to the provider’s bio page on the website, where the scheduling widget is pre-set for that provider.
- Benefits: Embedding links in email signatures makes it easy for patients to book directly with their providers, fostering a more personalized and convenient patient experience.
- Include “Book Appointment” Links on All Social Media Profiles
- Implementation: Add a “Book Appointment” button or link in the bio or CTA section of each social media profile (e.g., Facebook, Instagram, LinkedIn).
- Link Destination: Direct these links to the main online booking page on your website, where patients can select from first available, location, or provider options.
- Benefits: Leveraging social media to drive patients to your online booking page increases visibility and appointment opportunities from diverse channels.
By integrating booking links into external communications and digital profiles, your practice can maximize patient access to scheduling, reduce call volume, and increase overall appointment rates. This multi-channel approach ensures patients are guided to the appropriate booking entry point based on their needs, making scheduling more efficient and user-friendly.