Setting Up Online Scheduling Menus
Part 1: Adding Locations to Online Scheduling
- Accessing Online Scheduling Settings
- Go to Admin Tools in the Client Manager.
- Open the Patient Scheduling Onboarding page.
- Navigating to Locations
- Scroll to the Online Scheduling tab.
- Click on Locations.
- Editing Location Details
- Choose the location to be open for self-booking.
- Click on the Edit tab for the selected location.
- Setting Office Hours
- Adjust the office hours to reflect the availability for booking.
- These hours should fall within the range suitable for patient appointments.
- Activating Online Scheduling
- Check the box for Online Scheduling.
- Click OK to confirm and activate online scheduling for the chosen location.
Part 2: Adding Providers and Office Hours
- Accessing Provider Settings in Online Scheduling
- Go to the providers tab
- Click on the edit button for provider you want to add to the menu
- Enabling Online Scheduling
- Select “yes” for online scheduling for the provider
- Adding Office Hours
- Add office hours for the locations the provider works out of
- Specify the days of the week and hour ranges for scheduling
- Note that these are the days and hours patients can schedule, not the total office hours the provider works
- Managing Rotating Locations
- If the provider rotates between locations, open up office hours for each location. You must click submit before editing the next location. If you edit multiple locations without click submit inbetween, only the settings from the last edited location will save.
- RSI will respect the scheduling templates in the practice management system to manage availability
- Even if the provider is in a location infrequently, open it up in the online scheduling menu
- Finalizing Settings
- Once all days and hours for each location are opened up, click submit to save the settings
Part 3.1: Activating Appointment Types
- Navigate to Appointment Types Tab
- Go to the online scheduling settings page.
- Find the appointment types tab.
- Edit Appointment Types
- Click on the edit button for the desired appointment types.
- Activate Online Scheduling
- Check the box for “show online scheduling” in the appointment type profile.
- Click submit to save the changes.
Part 3.2: Activating Purposes (Only for Nextech & 4D customers)
- Eligibility Criteria
- Only customers with Nextech Cloud, Nextech Practice Plus, and 4D EMR can activate online scheduling purposes.
- Purpose Activation
- Go to the Purposes tab in the online scheduling settings.
- Click on the edit button for selected purposes.
- Enable “Show Online Scheduling” option.
- Click submit to activate the purpose for online scheduling.
Pause here to understand how the patient-friendly Visit Types and Reasons work together to book an appointment. There are two different SOP depending on your PM System.
SOP 1 applies to Modernizing Medicine, Athena, Nextgen
SOP 2 applies to 4D-EMR, Nextech Select, Nextech Practice+
SOP 1: Managing Visit Types and Reasons for Appointment Types and Patient Type
Objective
To effectively set up groups and procedures that define the settings for appointment types and patient type.
Key Steps
- Set Up Visit Types:
- Define groups as either new or existing patients.
- Optionally, separate patients by specific age ranges.
- Set Up Reasons:
- Procedures represent the reason for the appointment that patients will see on the website.
- Appointment Booking Process:
- Patient selects a visit type (group) and reason (procedure) on the website.
- The appointment is sent to the practice management system with a specific appointment type and patient classification (new or existing).
- Distinguishing Patient Types:
- New Patient: Opens a new patient form for the patient to fill out on the website and sends the new patient chart and appointment to the PM system.
- Existing Patient: Asks for first name, last name, date of birth, and phone number to look up an existing chart and attaches the appointment to it in the PM system.
Cautionary Notes
- Ensure that groups and procedures are clearly defined to avoid confusion during the appointment booking process.
- Double-check the patient’s selected visit type and reason to accurately send the appointment to the PM system.
Tips for Efficiency
- Keep groups and procedures simple and easy to understand for patients.
- Regularly review and update groups and procedures based on patient demographics and practice needs to streamline the appointment booking process.
SOP 2: Managing Visit Types and Reasons for Appointment Types, Purposes, and Patient Types (For Nextech & 4D EMR Customers Only)
Objective:
To effectively set up groups and procedures that define the settings for appointment types, purposes and patient type.
Key Steps:
- Understand the relationship between groups and procedures in the practice management system.
- Define groups as visit types and procedures as reasons for patient appointments.
- Determine whether the patient is new or existing and the type of appointment they require.
- Assign specific treatments to procedures based on patient interests.
- Apply the appropriate group and procedure combination to providers in the system.
- Map groups and procedures to appointment types, purposes, and patient status (new or existing).
- Provide new patient intake forms and create new patient charts for new patients.
- Collect first and last name, date of birth, and phone number for existing patients and match them to existing patient charts.
- Treat patients based on their selected visit type and reason, either as new or existing patients.
Cautionary Notes:
- Ensure accurate mapping of groups and procedures to appointment types and purposes to avoid confusion during scheduling.
- Double-check patient status (new or existing) to provide the correct intake forms and patient chart information.
- Verify patient details for existing patients to match them to the correct patient charts in the system.
Tips for Efficiency:
- Create clear and descriptive group and procedure titles for easy identification by patients and staff.
- Regularly review and update groups and procedures based on patient feedback and changing treatment options.
- Train staff members on the proper use and application of groups and procedures to streamline the appointment booking process.
Part 4: Setting Up Visit Types & Reasons for Online Scheduling Menu
- Activate Visit Types and Reasons
- Set up lists of visit types and reasons for patient selection on your website.
- Setting Up Visit Types
- Click on “Add New Visit Type” to create a new visit type.
- Enter the name of the visit type.
- Edit and submit the visit type as needed.
- Use the trash can icon to delete visit types you do not want to show in the drop-down menu.
- Reason List
- The list of reasons comes from the procedures listed in your procedure manager.
- Procedures are used as the Procedure of Interest in a lead form and as the Reason in Online Scheduling.
- Activating Reasons for Online Scheduling
- Click on the pencil icon of the reason you want to activate.
- Check the box for “Show on Online Scheduling.”
- Click “Submit” to save the changes.
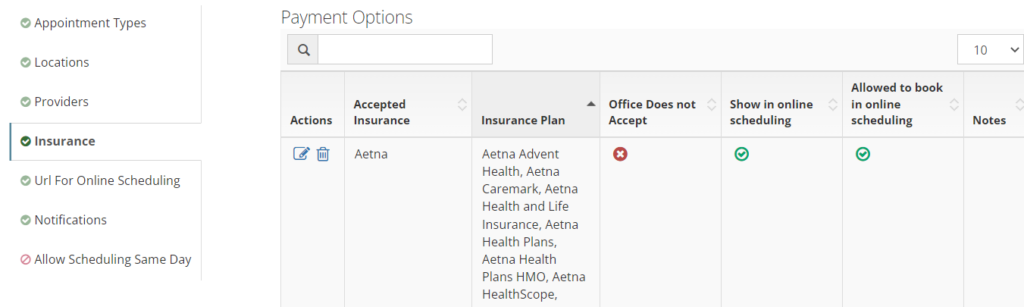
Part 5: Add Insurance Plans
Insurance
This tab provides all the same setup options as the Payment Options page. If you finished setting insurance in Payment Options then you can skip this tab. If you have not set up your insurance profiles, refer to Payment Options
Part 6: Add Appointment Combinations for Each Provider
Use ![]()
![]() to add appointment combinations for each provider. Jump back to SOP1 or SOP2 above and follow instructions for setting appointment combinations.
to add appointment combinations for each provider. Jump back to SOP1 or SOP2 above and follow instructions for setting appointment combinations.
SOP 1 applies to Modernizing Medicine, Athena, Nextgen
SOP 2 applies to 4D-EMR, Nextech Select, Nextech Practice+
Part 7: Add Insurance to Each Provider
Use ![]()
![]() to set up insurance plans the provider accepts.
to set up insurance plans the provider accepts.

Part 8: Set Up Messaging within the Widget
Go to URL for Online Scheduling to customize messages displayed to your patients throughout their booking process. See the definitions of each message to understand where and when they are displayed below.
| Custom Message Fields | Definition |
| Welcome Message | Displays at the top of the default scheduling widget. |
| Confirmation Page | Displays at the end of the booking process when the patient is shown their appointment details. |
| Custom Save Card Message | If an appointment requires a Saved Card to book then this is the message that will appear above the credit card form. It typically will explain why a card is being taken and should explain any cancellation or no-show fees the patient may expect. |
| Custom Deposit Message | If an appointment requires payment of a booking fee, this message will appear above the credit card form. It typically will explain what the fee is and the amount being charged. Use @Model.Amount to dynamically pull in the fee amount noted next to each appointment combination. |
| Campaign | To track booked appointments in your reporting, select a campaign to attribute these leads to. We recommend using your website campaign as a default, however, you can also the custom parameter “rsiCampaignId=[insert campaign ID]” to any website link to send leads from that source to a specified campaign. For example, if you are sending Google Ads traffic to a landing page with your booking menu on it you can append the parameter mentioned above to the link on your ad, and appointments booked from that link will be attributed to that Google Ad campaign rather than the default campaign set here. |
| Existing Patient Not Found Message | Displays when a match to an existing patient can’t be found with the information they entered. |
| Insurance Not Allowed to Book Online Message | Displays when a patient selects an insurance carrier or plan that cannot be booked online. |
| Redirect Button Text | Displayed on the “Insurance Not Allowed to Book Online” pop-up. |
| Redirect Button Link | Displayed on the “Insurance Not Allowed to Book Online” pop-up. |
Part 9: Activate Booking Notifications
New Online Booking – Alert: This notification is sent to practice staff to notify them an appointment has been booked online.
Online Booking Request – Confirmation: This notification goes to the patient with their appointment details. If you already have appointment confirmations that are delivered at the time of booking through RSI or another platform, then this notification does not need to be activated.
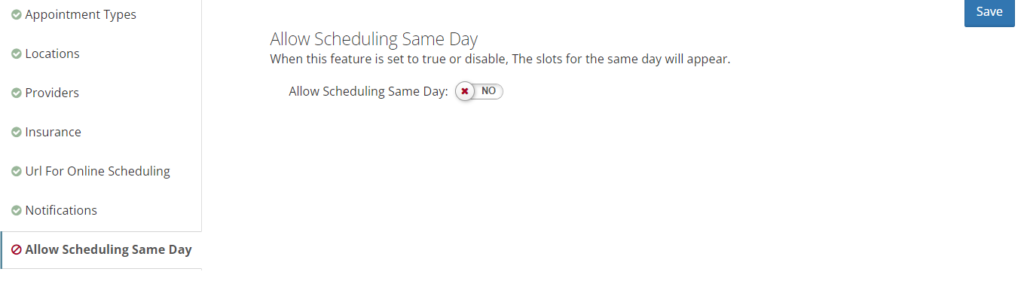
Part 10: Allow Scheduling Same Day
When this feature is set to true, the availability for the same day will appear.